

Hey there! As a supplier of Cold Forming Presses, I often get asked about how to adjust the stroke of these machines. It's a crucial aspect that can significantly impact the performance and efficiency of your cold forming operations. So, let's dive right in and explore the ins and outs of stroke adjustment.
Understanding the Basics of Stroke in a Cold Forming Press
First things first, what exactly is the stroke of a Cold Forming Press? Well, the stroke refers to the distance that the ram (the moving part of the press) travels from its uppermost position to its lowermost position. This distance determines the depth to which the press can form the material. Adjusting the stroke correctly is essential for achieving the desired shape and dimensions of the formed parts.
Why Adjust the Stroke?
There are several reasons why you might need to adjust the stroke of your Cold Forming Press. For instance, if you're working with different materials or thicknesses, you'll need to adjust the stroke to ensure proper forming. A shorter stroke might be suitable for thinner materials, while a longer stroke could be required for thicker ones. Additionally, if you're changing the type of part you're producing, you'll likely need to adjust the stroke accordingly.
Steps to Adjust the Stroke
Now, let's get into the nitty-gritty of how to adjust the stroke. The process can vary depending on the type of Cold Forming Press you have, but here are the general steps:
Step 1: Familiarize Yourself with the Press
Before you start making any adjustments, it's important to understand the components of your Cold Forming Press. Locate the stroke adjustment mechanism, which is usually a screw or a hydraulic cylinder. Refer to the press's manual for specific instructions on where to find this mechanism.
Step 2: Measure the Current Stroke
Use a measuring tool, such as a ruler or a caliper, to measure the current stroke of the press. This will give you a baseline for your adjustments. Make sure to measure from the uppermost position of the ram to the lowermost position.
Step 3: Determine the Desired Stroke
Based on the material you're working with and the part you're producing, determine the desired stroke. This might require some trial and error, especially if you're working with a new material or part design. You can also consult with your engineering team or refer to industry standards for guidance.
Step 4: Make the Adjustment
Once you've determined the desired stroke, it's time to make the adjustment. If your press has a screw-type adjustment mechanism, use a wrench to turn the screw in the appropriate direction. Turning the screw clockwise will usually decrease the stroke, while turning it counterclockwise will increase the stroke. If your press has a hydraulic cylinder, you'll need to adjust the hydraulic pressure to change the stroke.
Step 5: Test the Press
After making the adjustment, it's important to test the press to ensure that the stroke is correct. Run a few test cycles with a sample piece of material and check the formed part for the desired shape and dimensions. If necessary, make further adjustments until you achieve the desired results.
Tips for Stroke Adjustment
Here are some tips to keep in mind when adjusting the stroke of your Cold Forming Press:
- Be precise: Even small adjustments can have a big impact on the performance of the press. Make sure to measure and adjust the stroke accurately.
- Take your time: Don't rush the adjustment process. It's better to take your time and make small adjustments to ensure that you get the stroke right.
- Keep records: Keep a record of the stroke adjustments you make, including the date, the material being used, and the part being produced. This will help you track the performance of the press and make future adjustments more easily.
Different Types of Cold Forming Presses and Their Stroke Adjustment
There are several types of Cold Forming Presses, each with its own unique stroke adjustment mechanism. Let's take a look at some of the most common types:
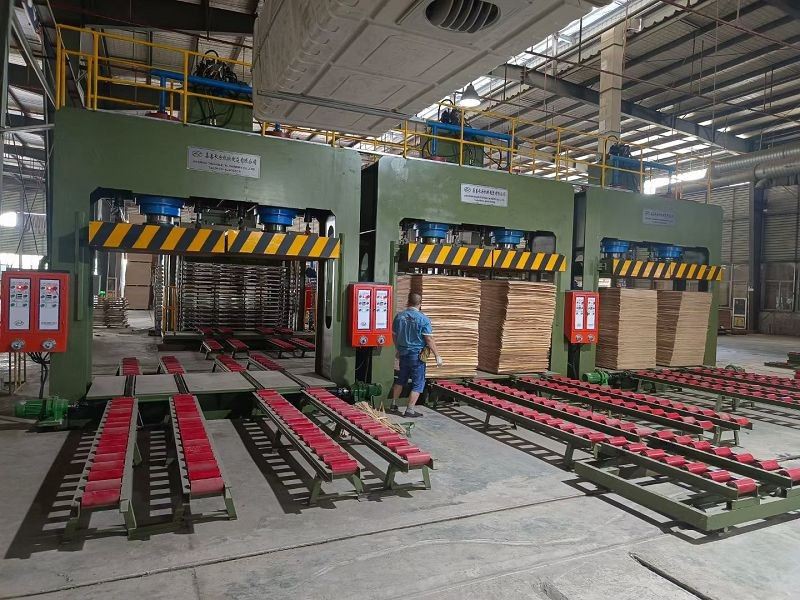
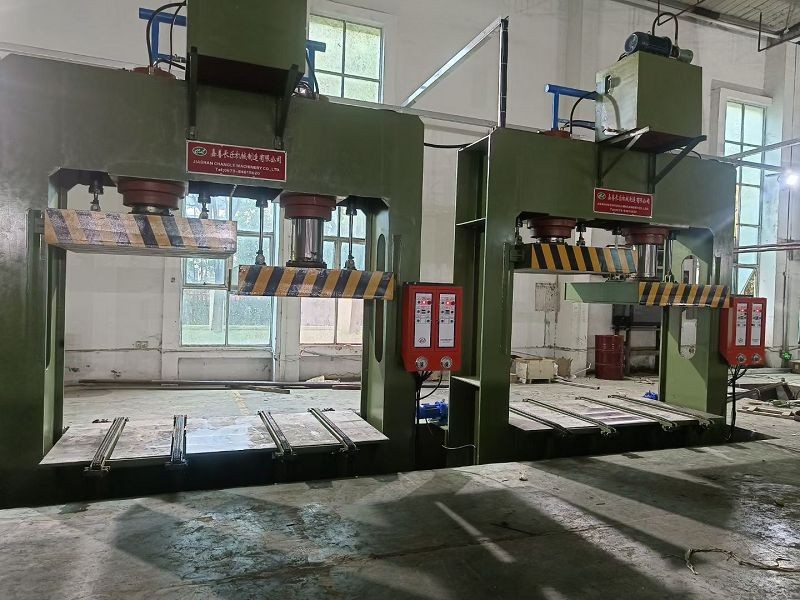
Mechanical Cold Forming Press
Mechanical Cold Forming Presses typically use a flywheel and a crankshaft to drive the ram. The stroke adjustment on these presses is usually done by changing the position of the connecting rod or the eccentric on the crankshaft. This can be a bit more complex than adjusting the stroke on a hydraulic press, but it offers greater precision and control.
Hydraulic Cold Forming Press
Hydraulic Cold Forming Presses use hydraulic cylinders to drive the ram. The stroke adjustment on these presses is usually done by adjusting the hydraulic pressure or the position of the hydraulic cylinder. This is a relatively simple and straightforward process, but it requires careful attention to ensure that the pressure is set correctly.
Servo Cold Forming Press
Servo Cold Forming Presses use servo motors to drive the ram. The stroke adjustment on these presses is usually done through a control system that allows for precise adjustment of the ram's position. This type of press offers the highest level of precision and control, but it can also be more expensive.
Conclusion
Adjusting the stroke of a Cold Forming Press is an important part of ensuring the quality and efficiency of your cold forming operations. By following the steps outlined above and keeping the tips in mind, you can make the necessary adjustments to achieve the desired results. If you have any questions or need further assistance, don't hesitate to reach out. We're here to help you get the most out of your Cold Forming Press.
If you're in the market for a Cold Forming Press or need to upgrade your existing equipment, check out our Cold Forming Press options. We also offer Cold Press for Woodworking and Hydraulic Cold Press solutions to meet your specific needs. Contact us today to discuss your requirements and explore how we can help you improve your cold forming processes.
References
- Manufacturer's manual for Cold Forming Presses
- Industry standards for cold forming operations


